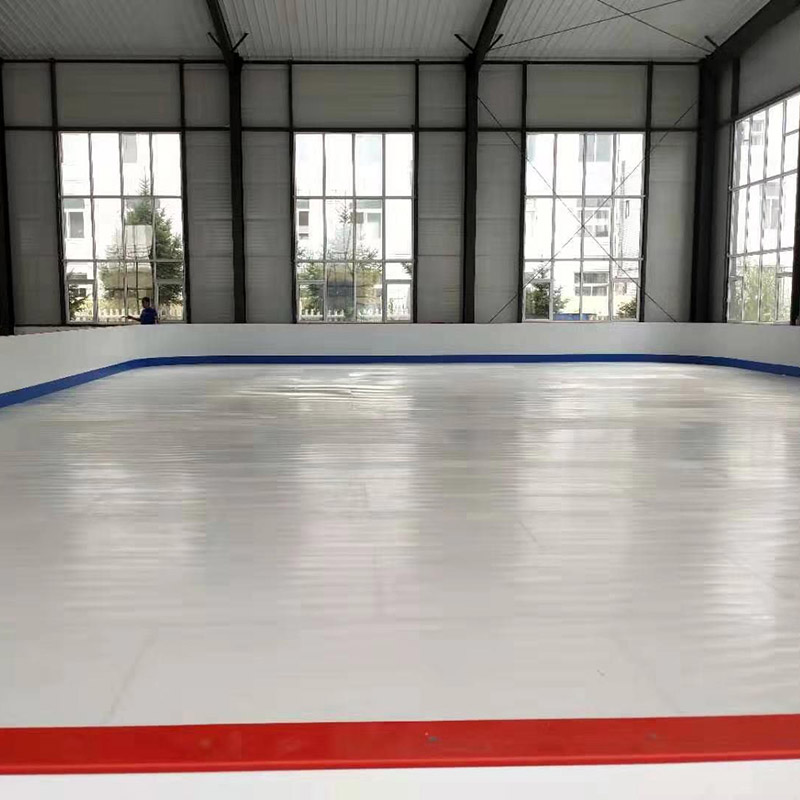
How to install Synthetic Rink Panels
The installation of Synthetic Rink Panels is a process that requires precision and professionalism to ensure smoothness, durability and athlete safety on the ice surface. The following are the general steps for Synthetic Rink Panels installation:
1. Site preparation: Clean and level the site to ensure that there is no debris. Check and adjust the site humidity and temperature. Foundation treatment as needed.
2. Measurement and marking: accurately measure the size of the site and mark the installation position of the panel.
Third, install the support structure: install a stable support structure, such as brackets, beams.
Fourth, lay the panel: from one end, lay the panel according to the mark. Use dedicated tools to make sure the panels are tightly connected. Check flatness regularly and make adjustments.
5, fixed panel: use fixture, glue and other firmly fixed panel. Ensure that the fixed mode does not affect panel performance.
6. Edge treatment: Install Synthetic Rink Panels anti-collision strips or protective facilities. Ensure that the edges are smooth and meet safety requirements.
7. Inspection and maintenance: Comprehensive inspection after installation to ensure stability. Regular maintenance, including cleaning and repair.
8. Test and acceptance: test the smoothness, hardness and rebound of the ice surface. Perform athlete testing to verify performance and safety.
9. Documentation: Record the installation process and material information. Save installation drawings and test reports.
Please note that the installation steps of Synthetic Rink Panels may vary from brand to brand and type, and it is recommended to refer to the product manual or consult a professional.


